Using Shipmate with Peoplevox
Introduction
The Shipmate Carrier Integration for Peoplevox allows you to directly process shipments through Shipmate from within Peoplevox.
This guide explains how to add the Peoplevox sales channel within Shipmate, how to add the connection details to your Peoplevox account and explains the settings you can configure for shipment handling.

Requirements
Before you are able to start printing shipping labels using Shipmate with Peoplevox, you will need the following:
- A Peoplevox account
- A Shipmate account
- At least one active Carrier and Delivery Service
- A compatible label printer
Labels are printed from within Peoplevox itself, so any printer configuration should be made within Peoplevox. Please refer to help guides provided by Peoplevox to set this up.
If you need any assistance ensuring you have everything you need to link your Shipmate account with Peoplevox, please contact support@shipmate.co.uk.
Setup
Obtaining Connection Details
Before you are able to add Shipmate into your Peoplevox account, you need to generate the necessary connection details within Shipmate, to then enter into your Peoplevox account. To do this, carry out the following steps:
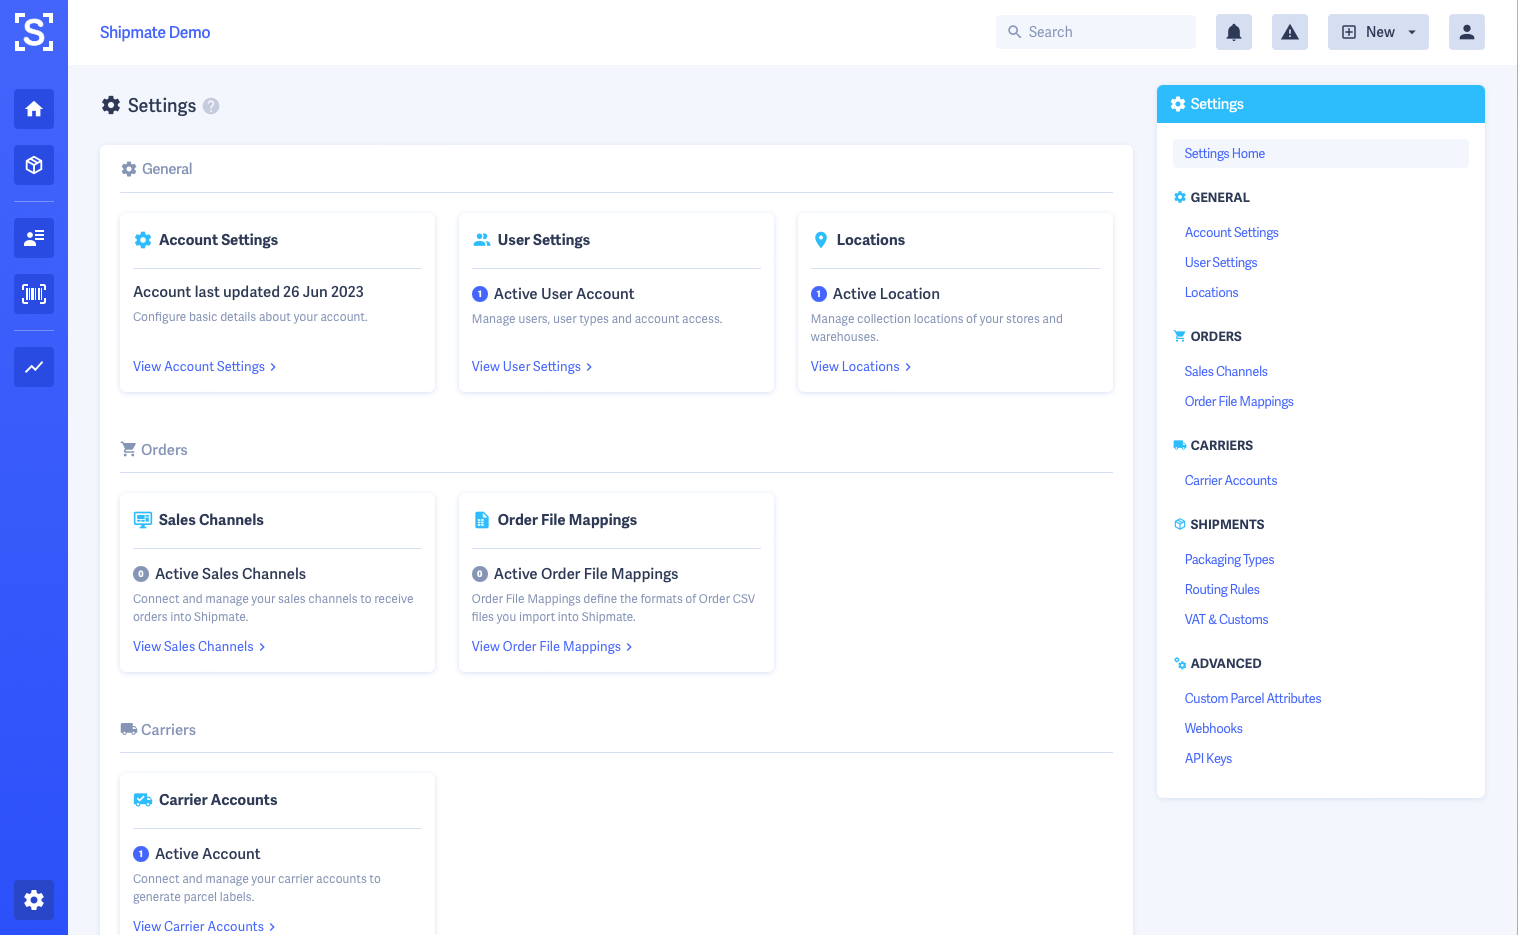
1. Navigate to the Settings area of your Shipmate account.
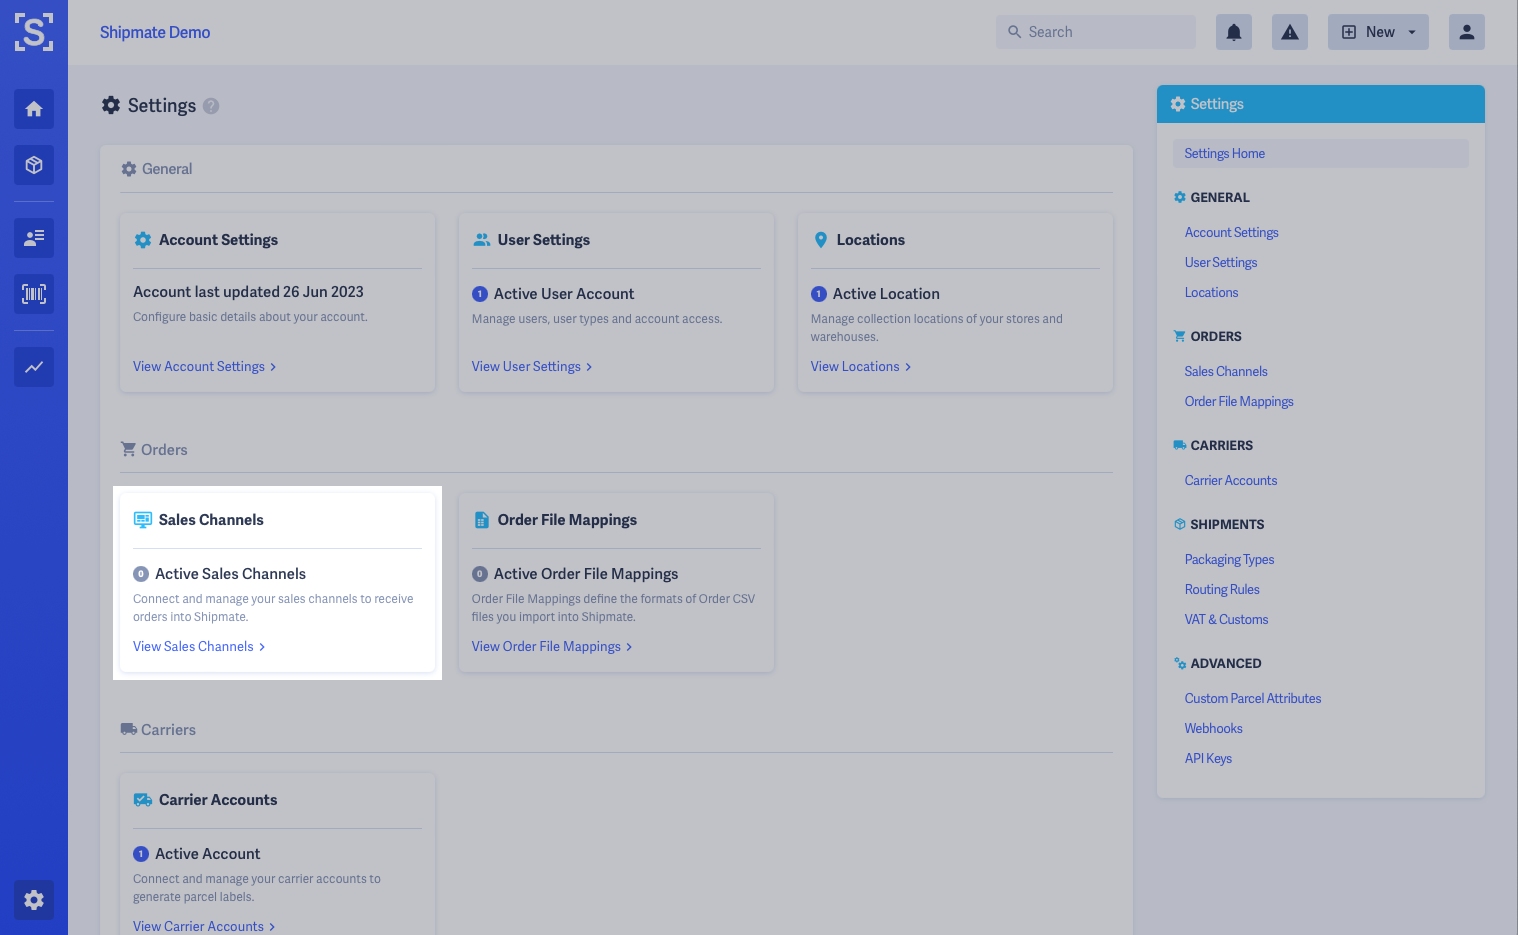
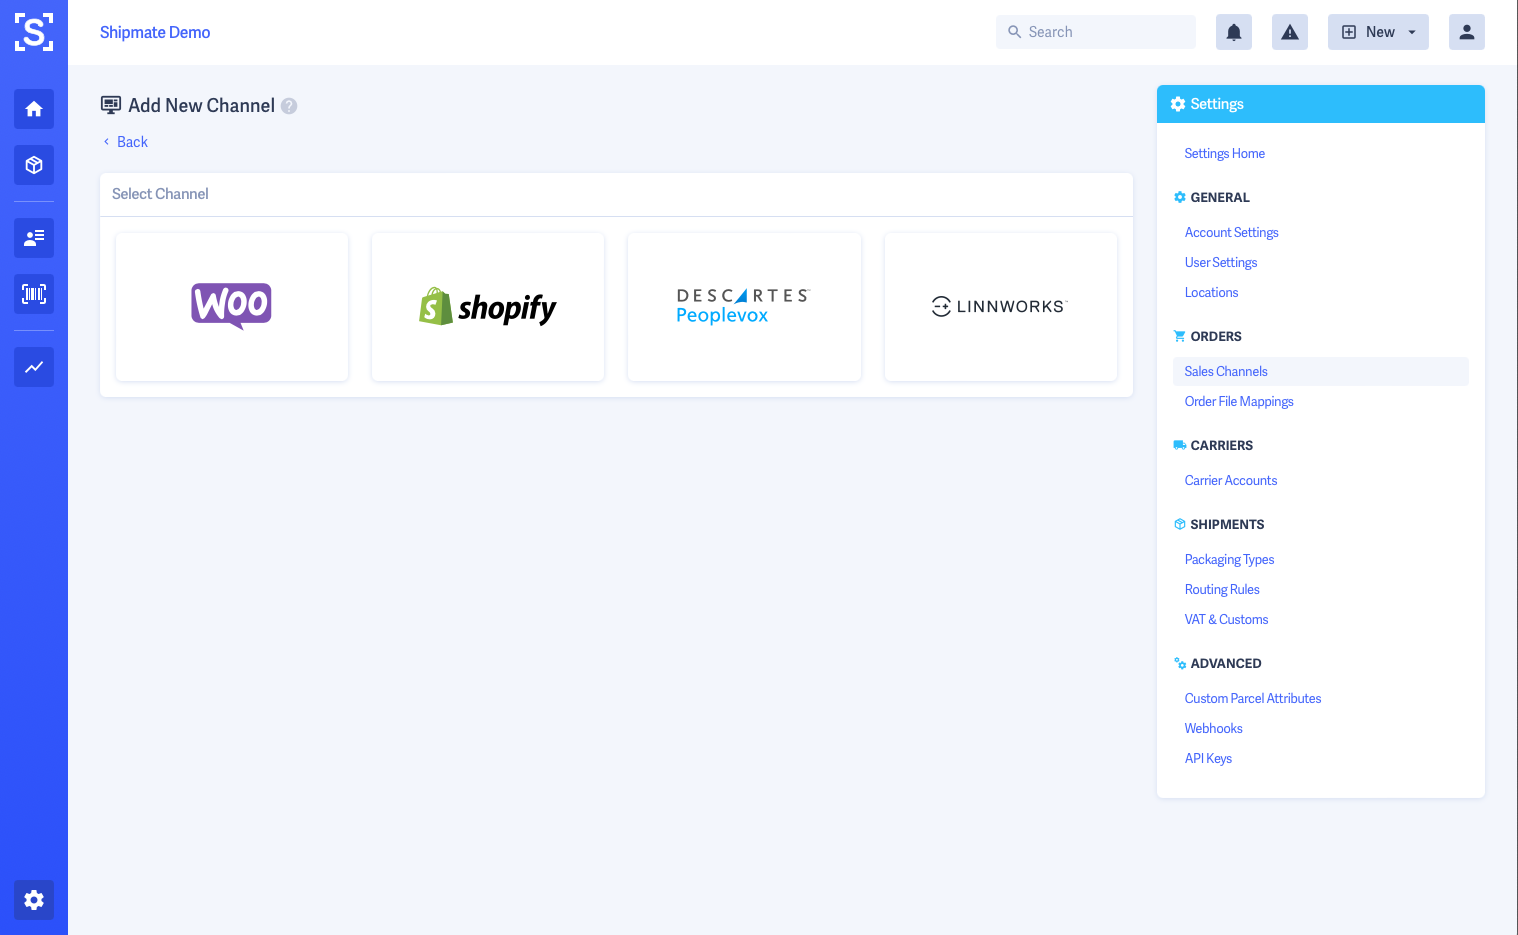
2. Click the Sales Channels option under the Orders section.
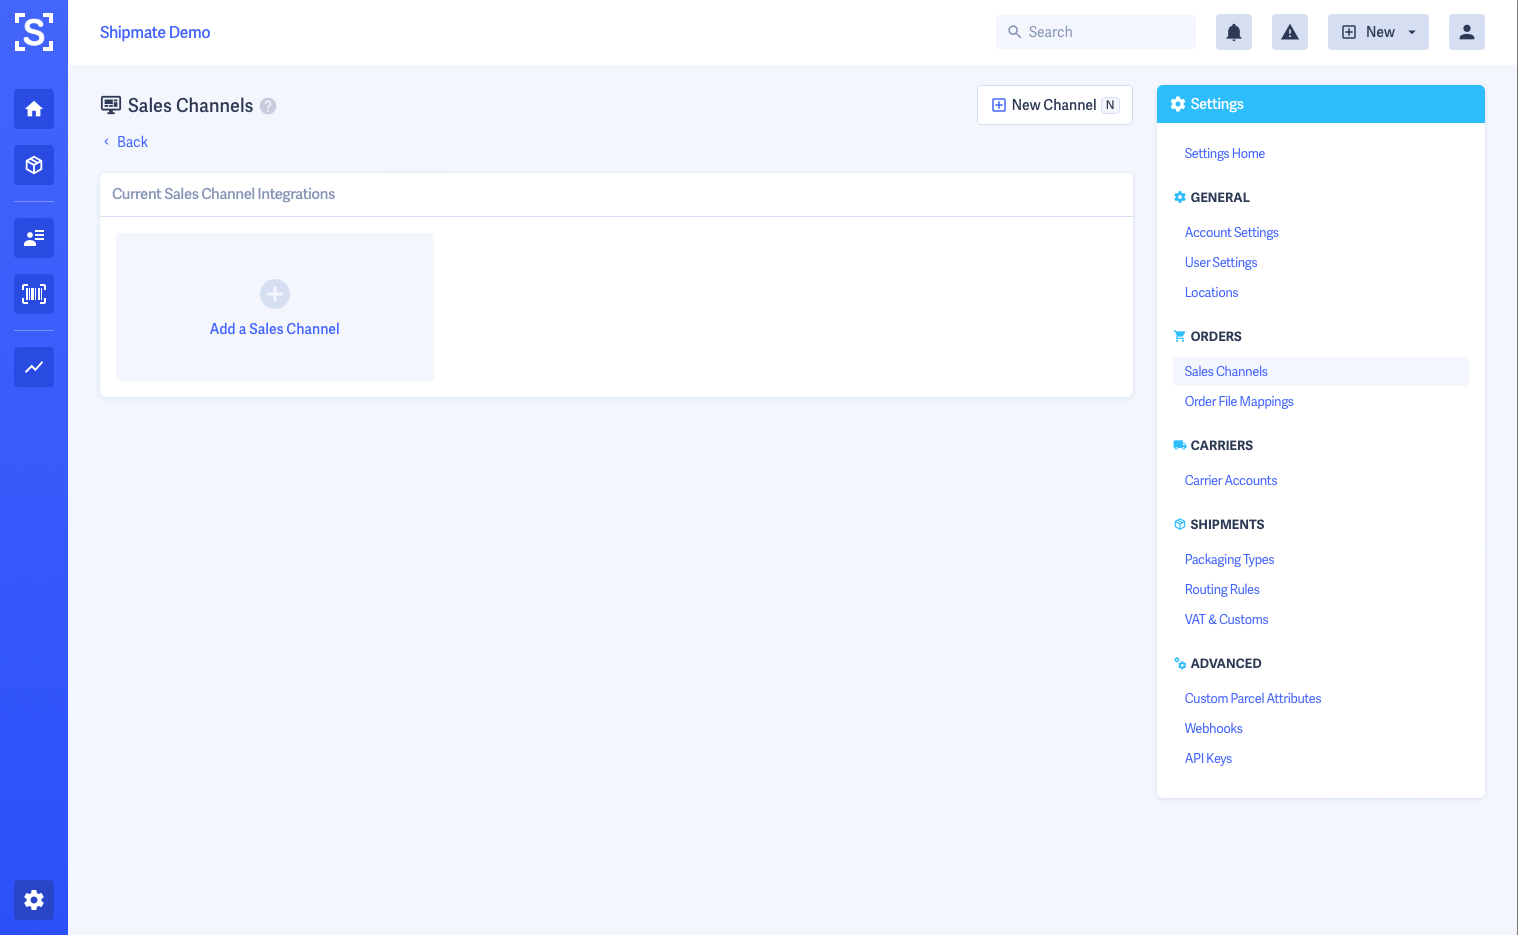
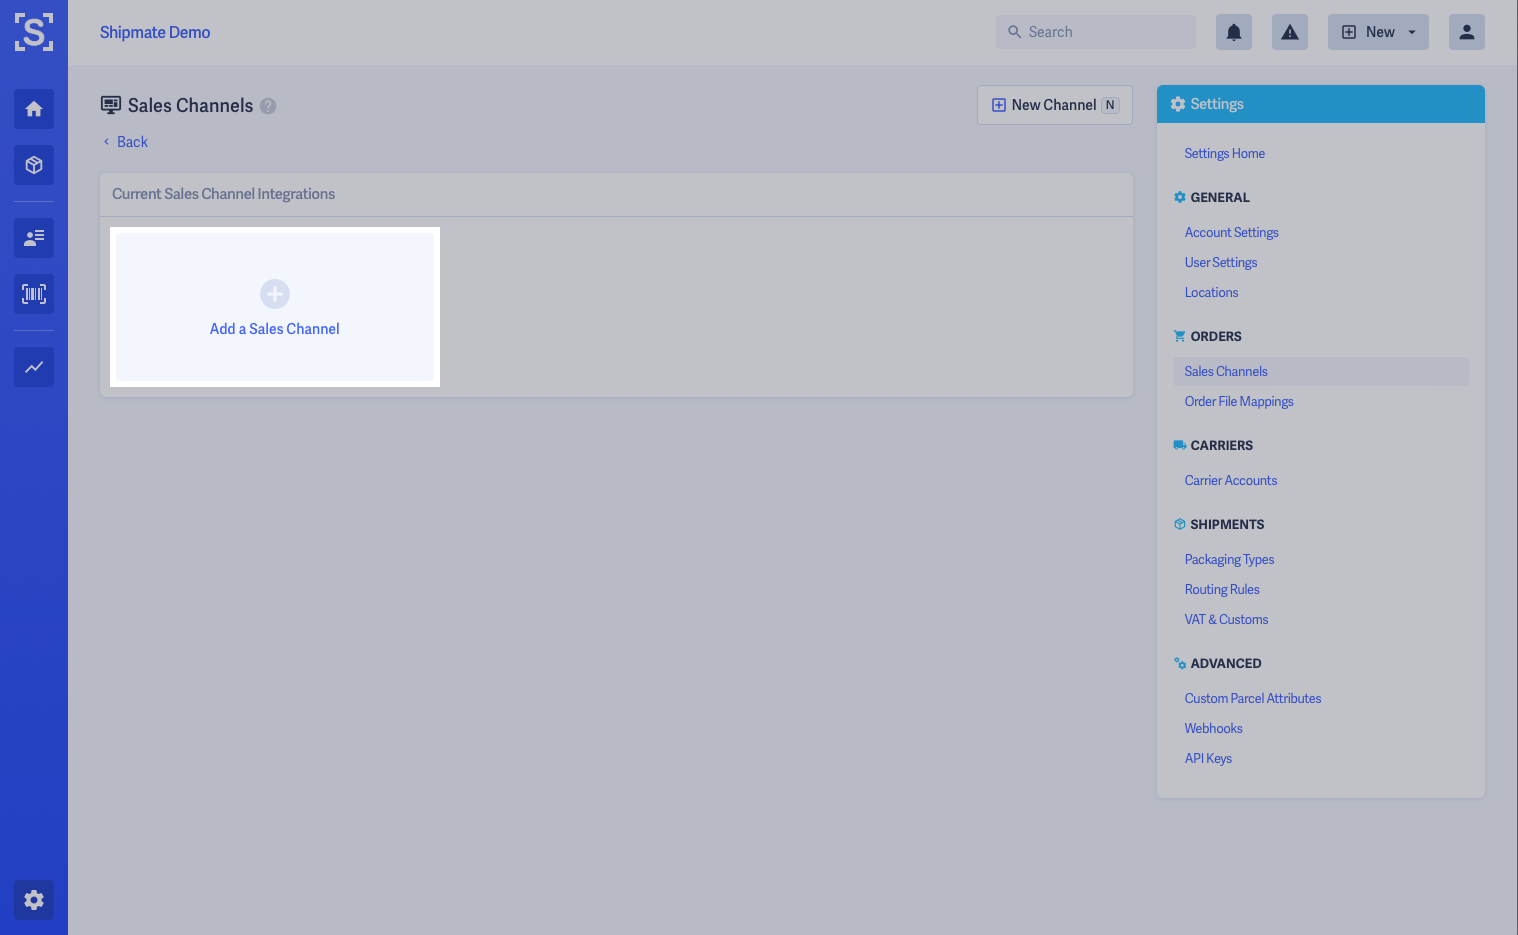
3. Click the New Channel button or Add a Sales Channel option to start the process of adding a new Channel.
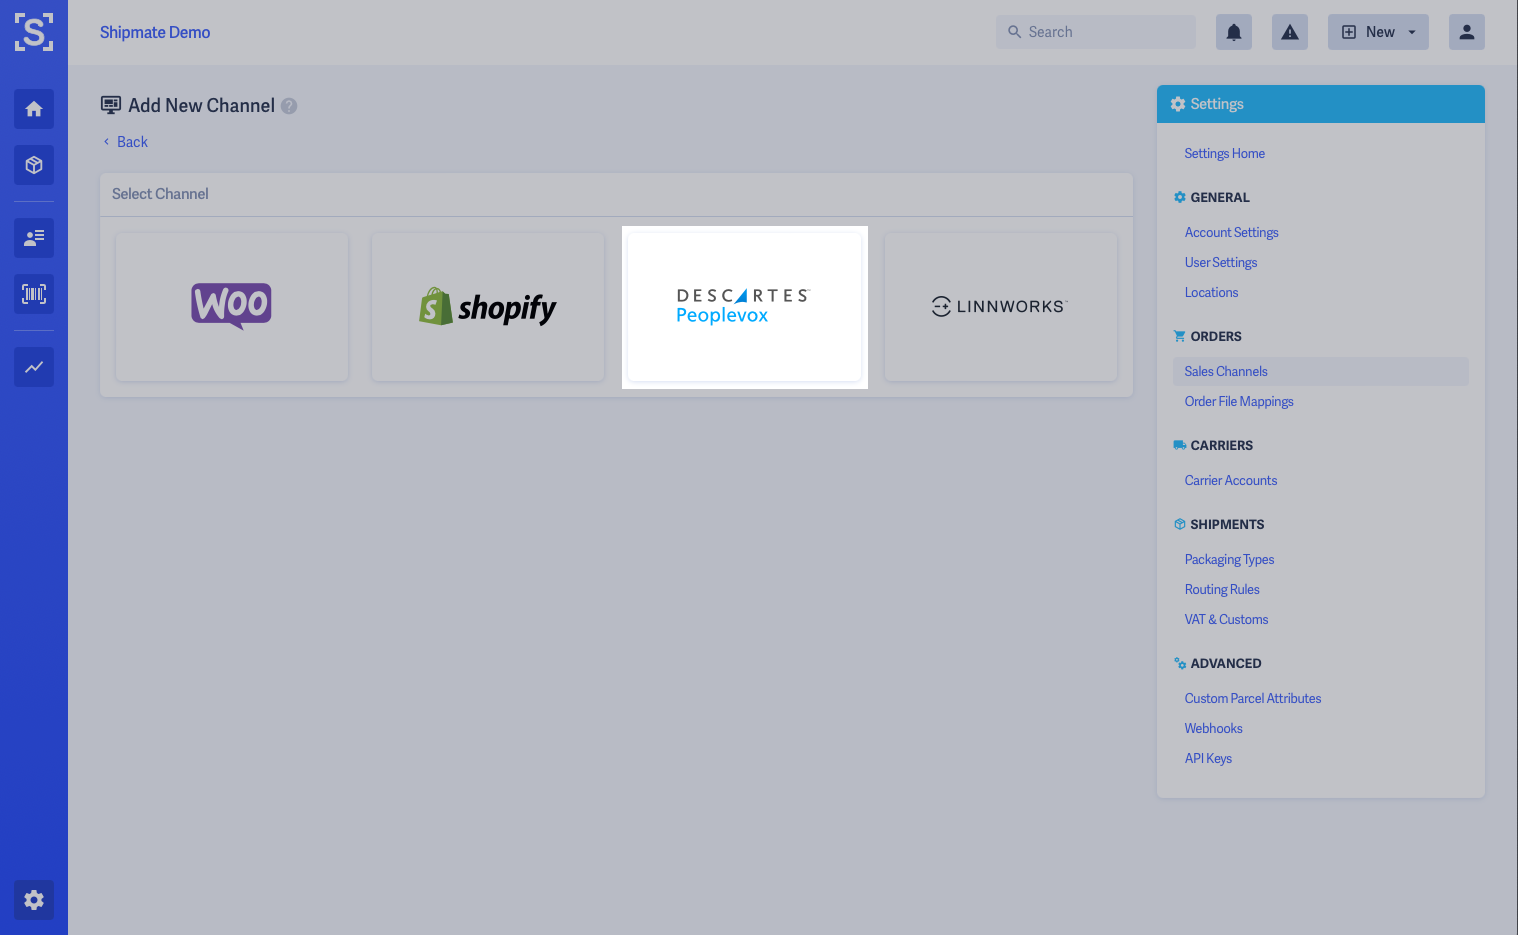
4. Click the Peoplevox option.
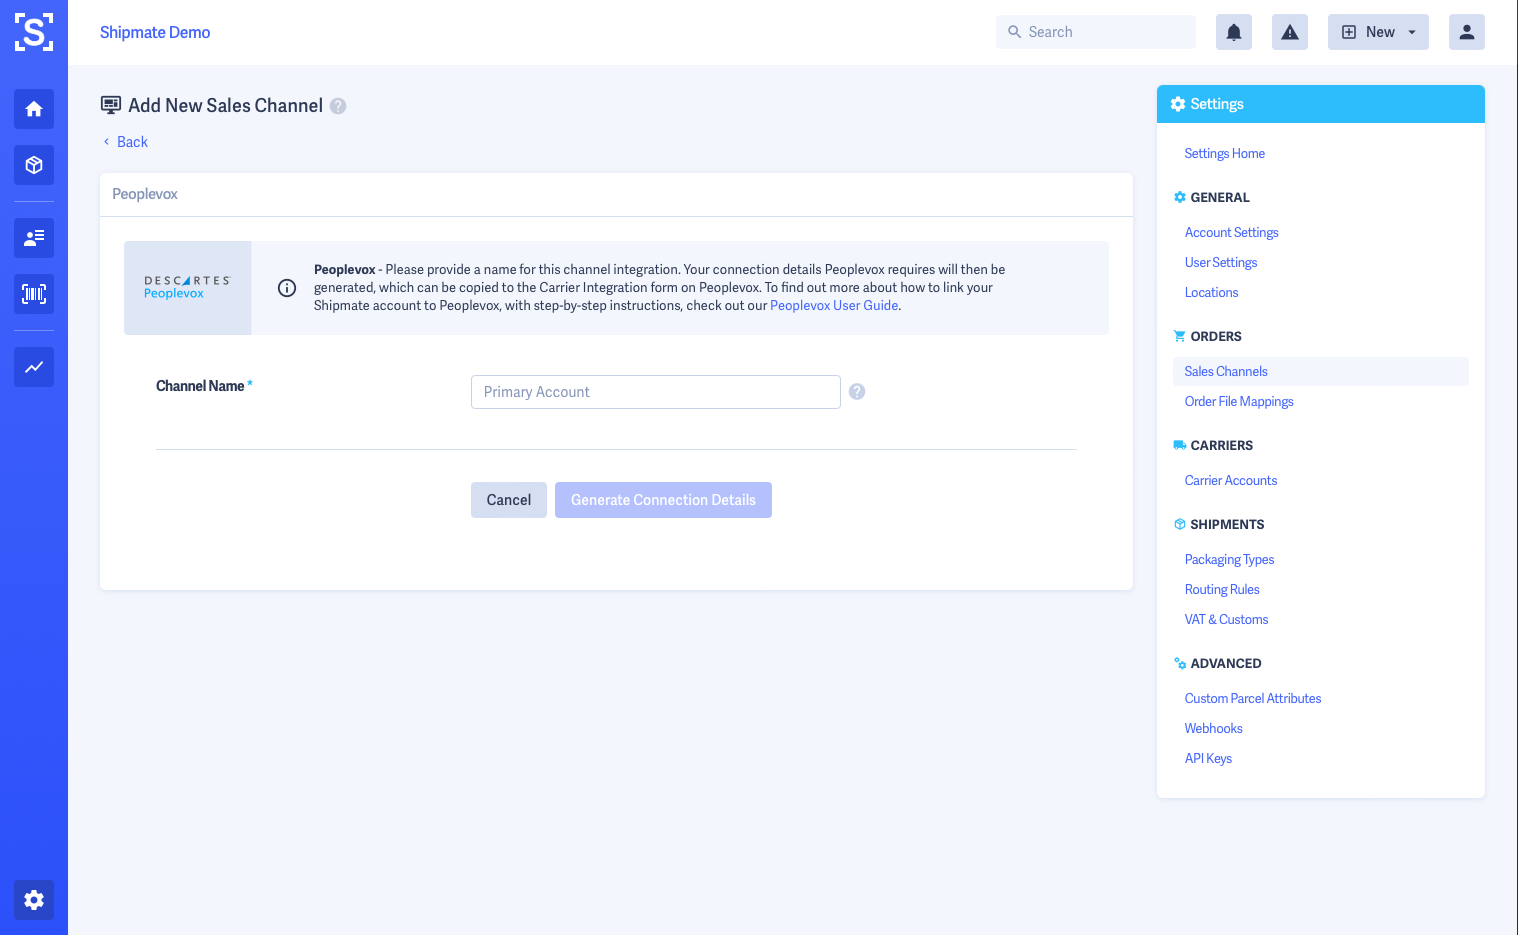
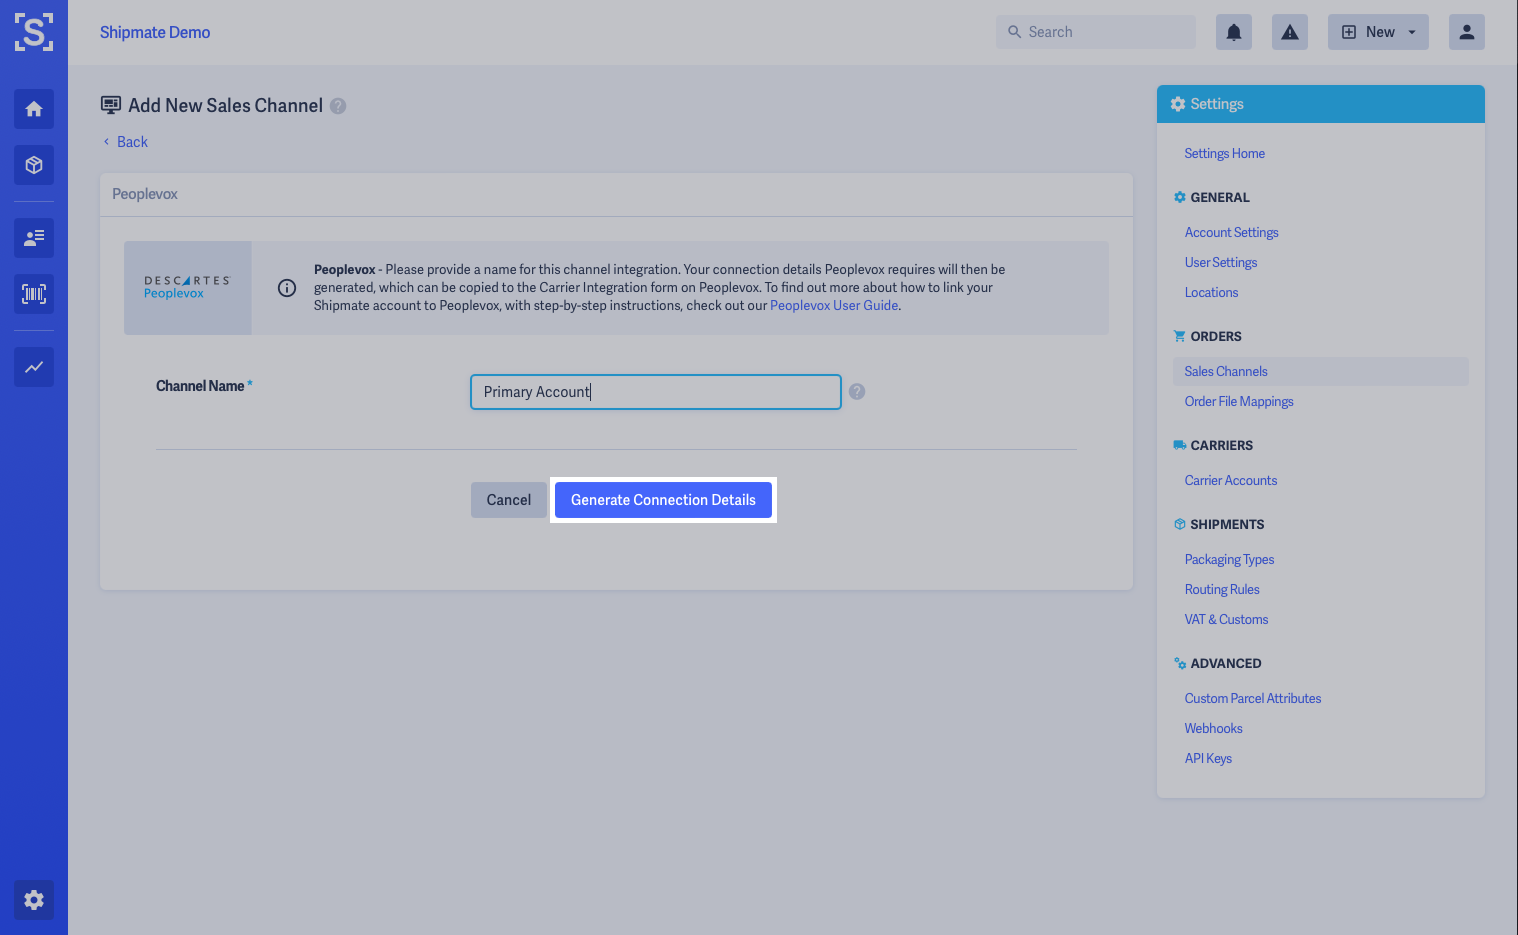
5. Provide a name for your integration, then click the Generate Connection Details button.
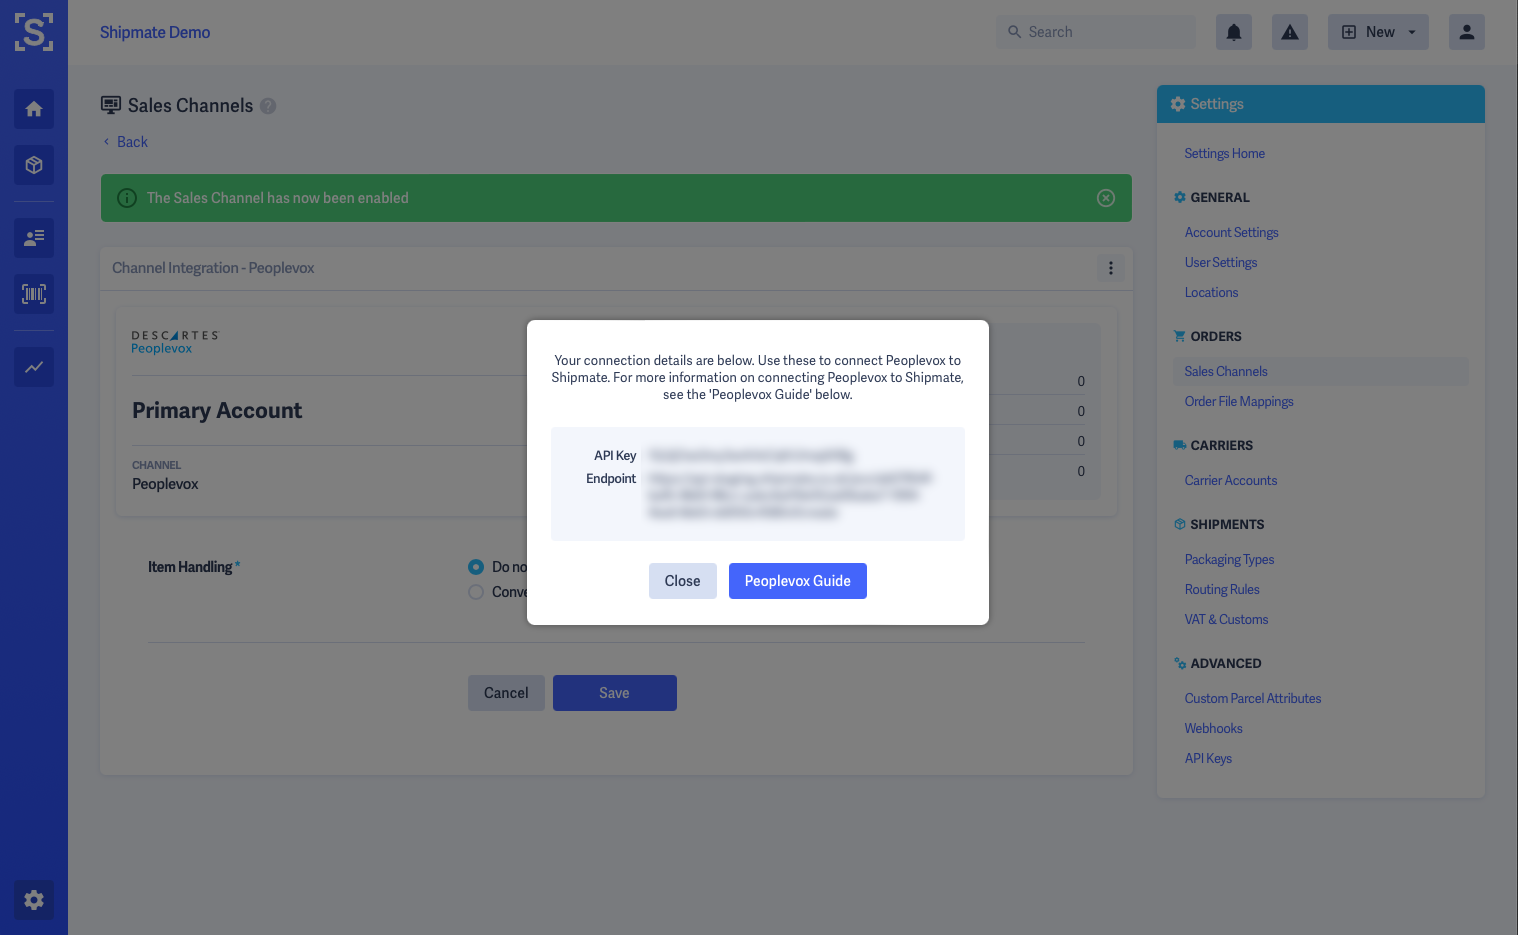
The Peoplevox channel will be added and your new connection details will be generated and shown in a popup.
Keep this window open until you have completed the setup on Peoplevox. You will need to copy the API key and Endpoint details when adding Shipmate inside Peoplevox.
Connecting Shipmate
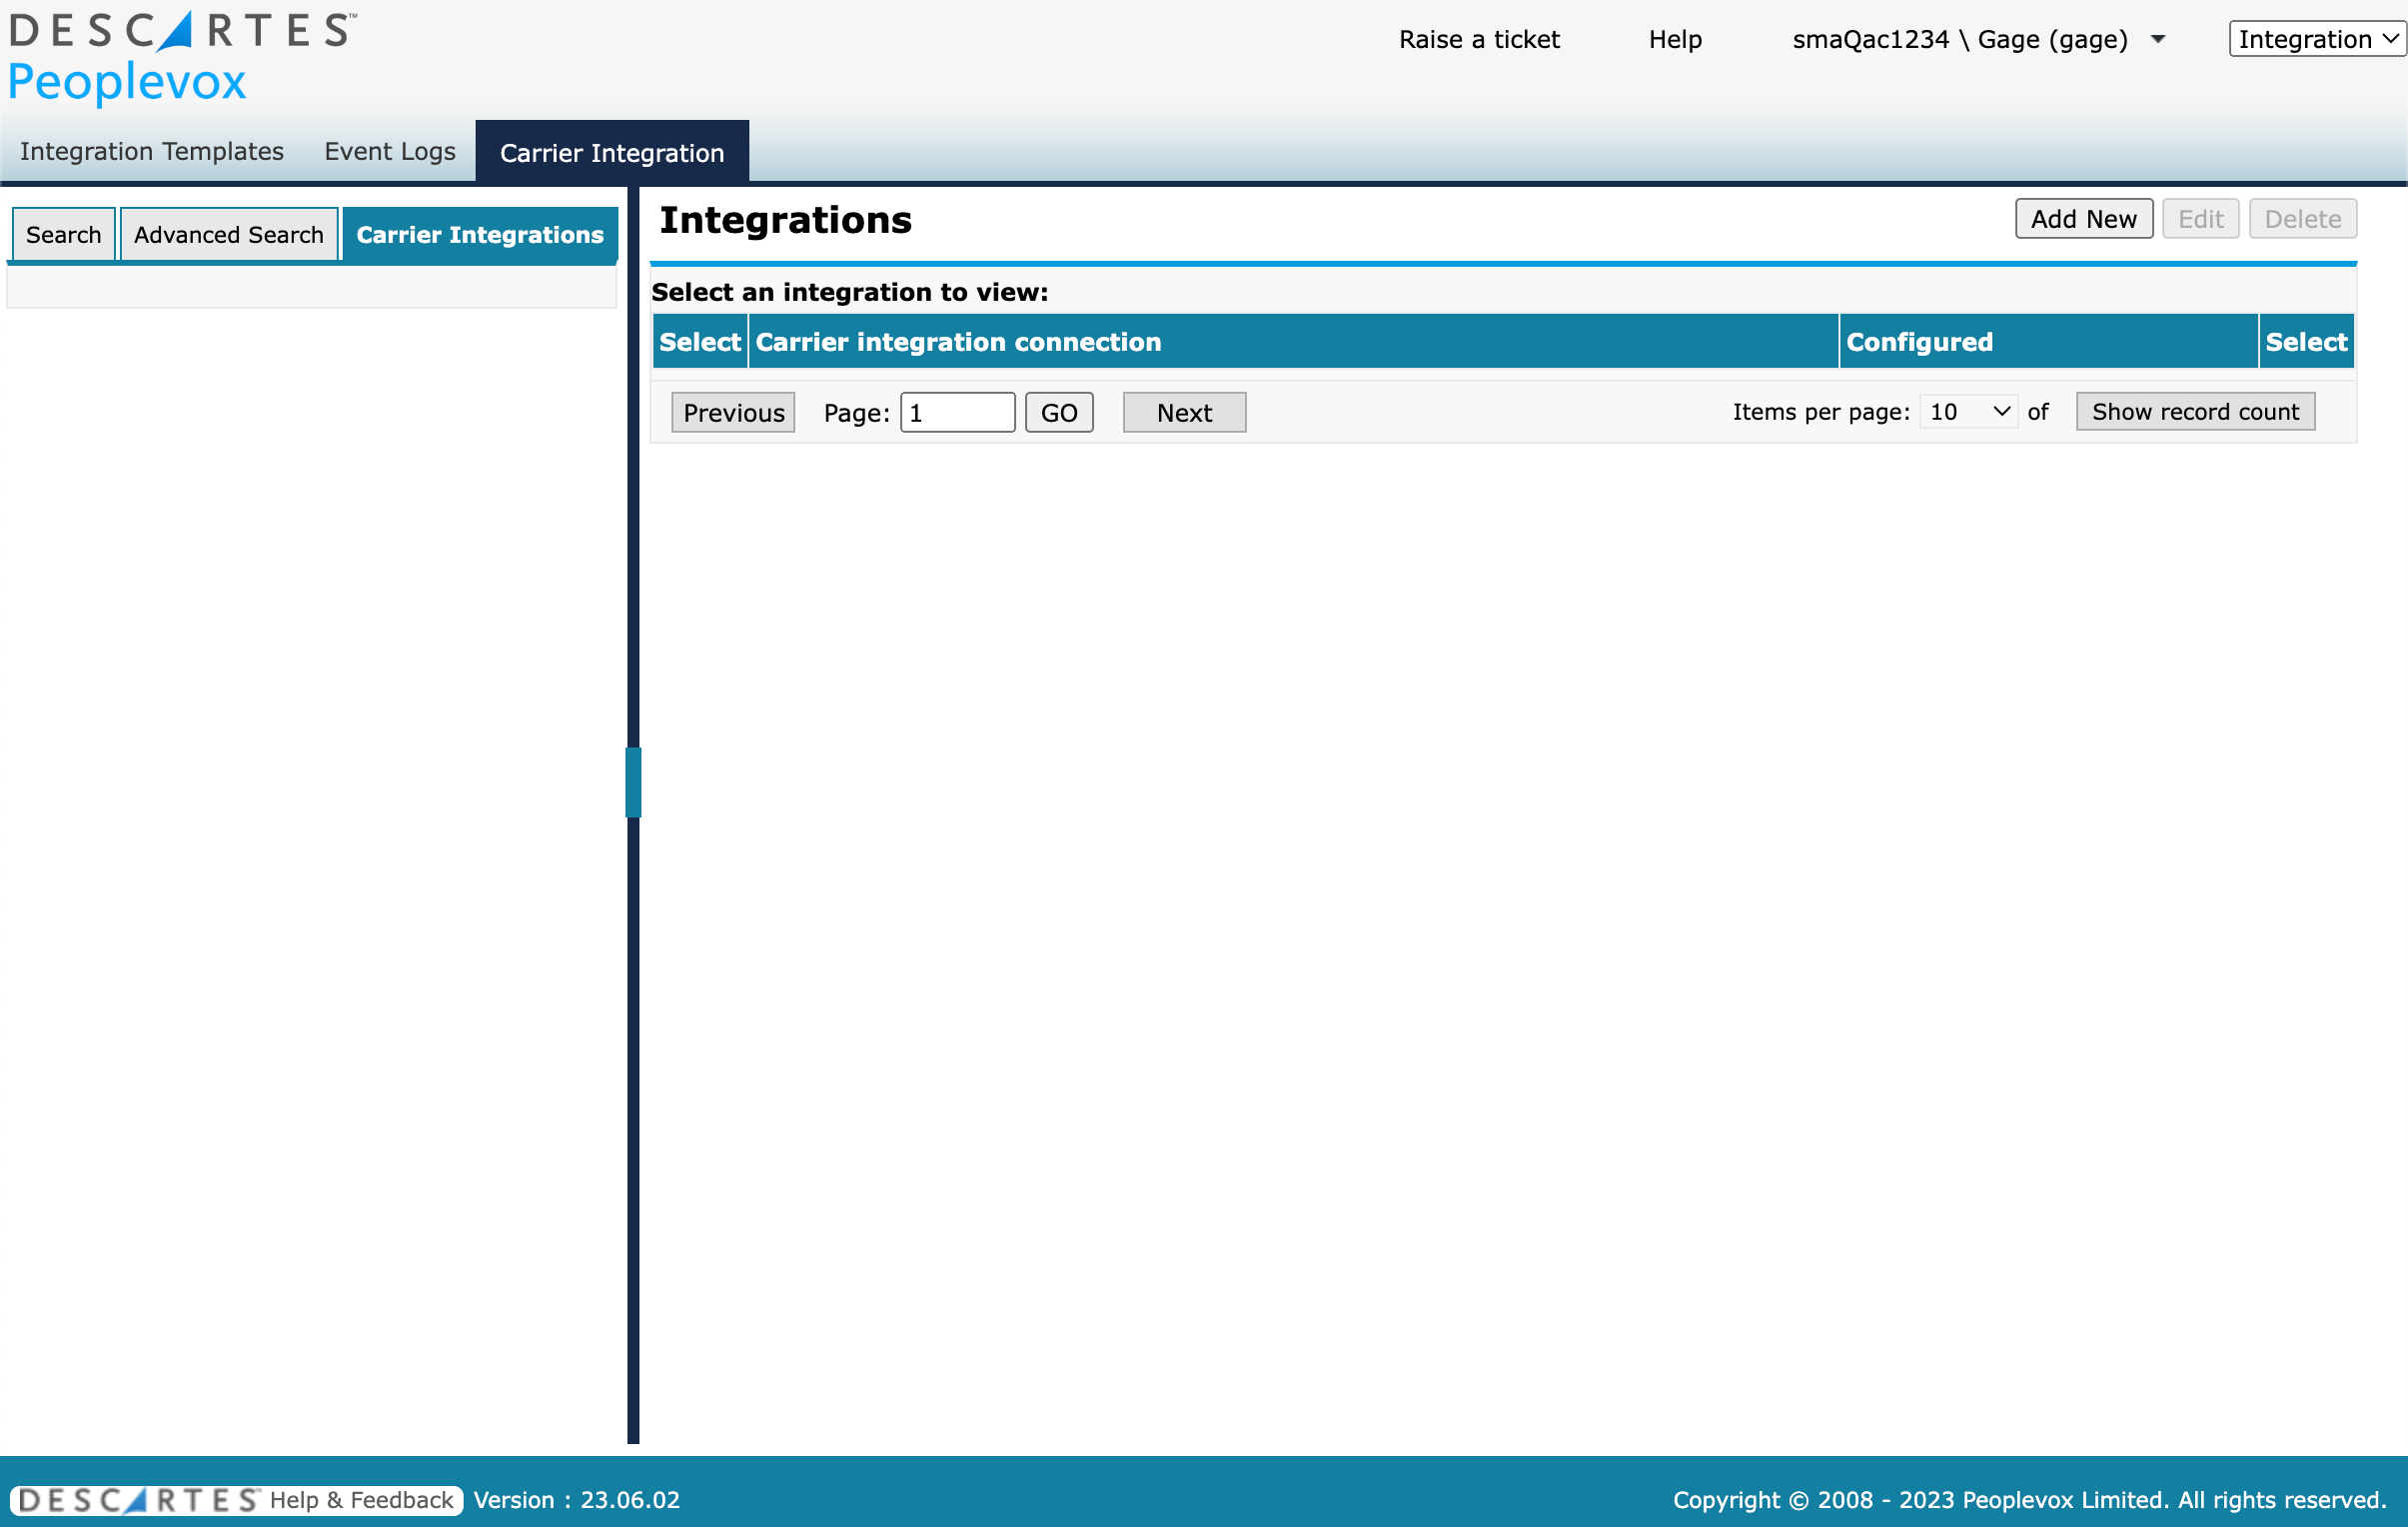
In the top right of Peoplevox, click the Warehouse dropdown and select Integration. This will switch you to the Integration configuration screen.
1. On the tabs menu, select Carrier Integration.
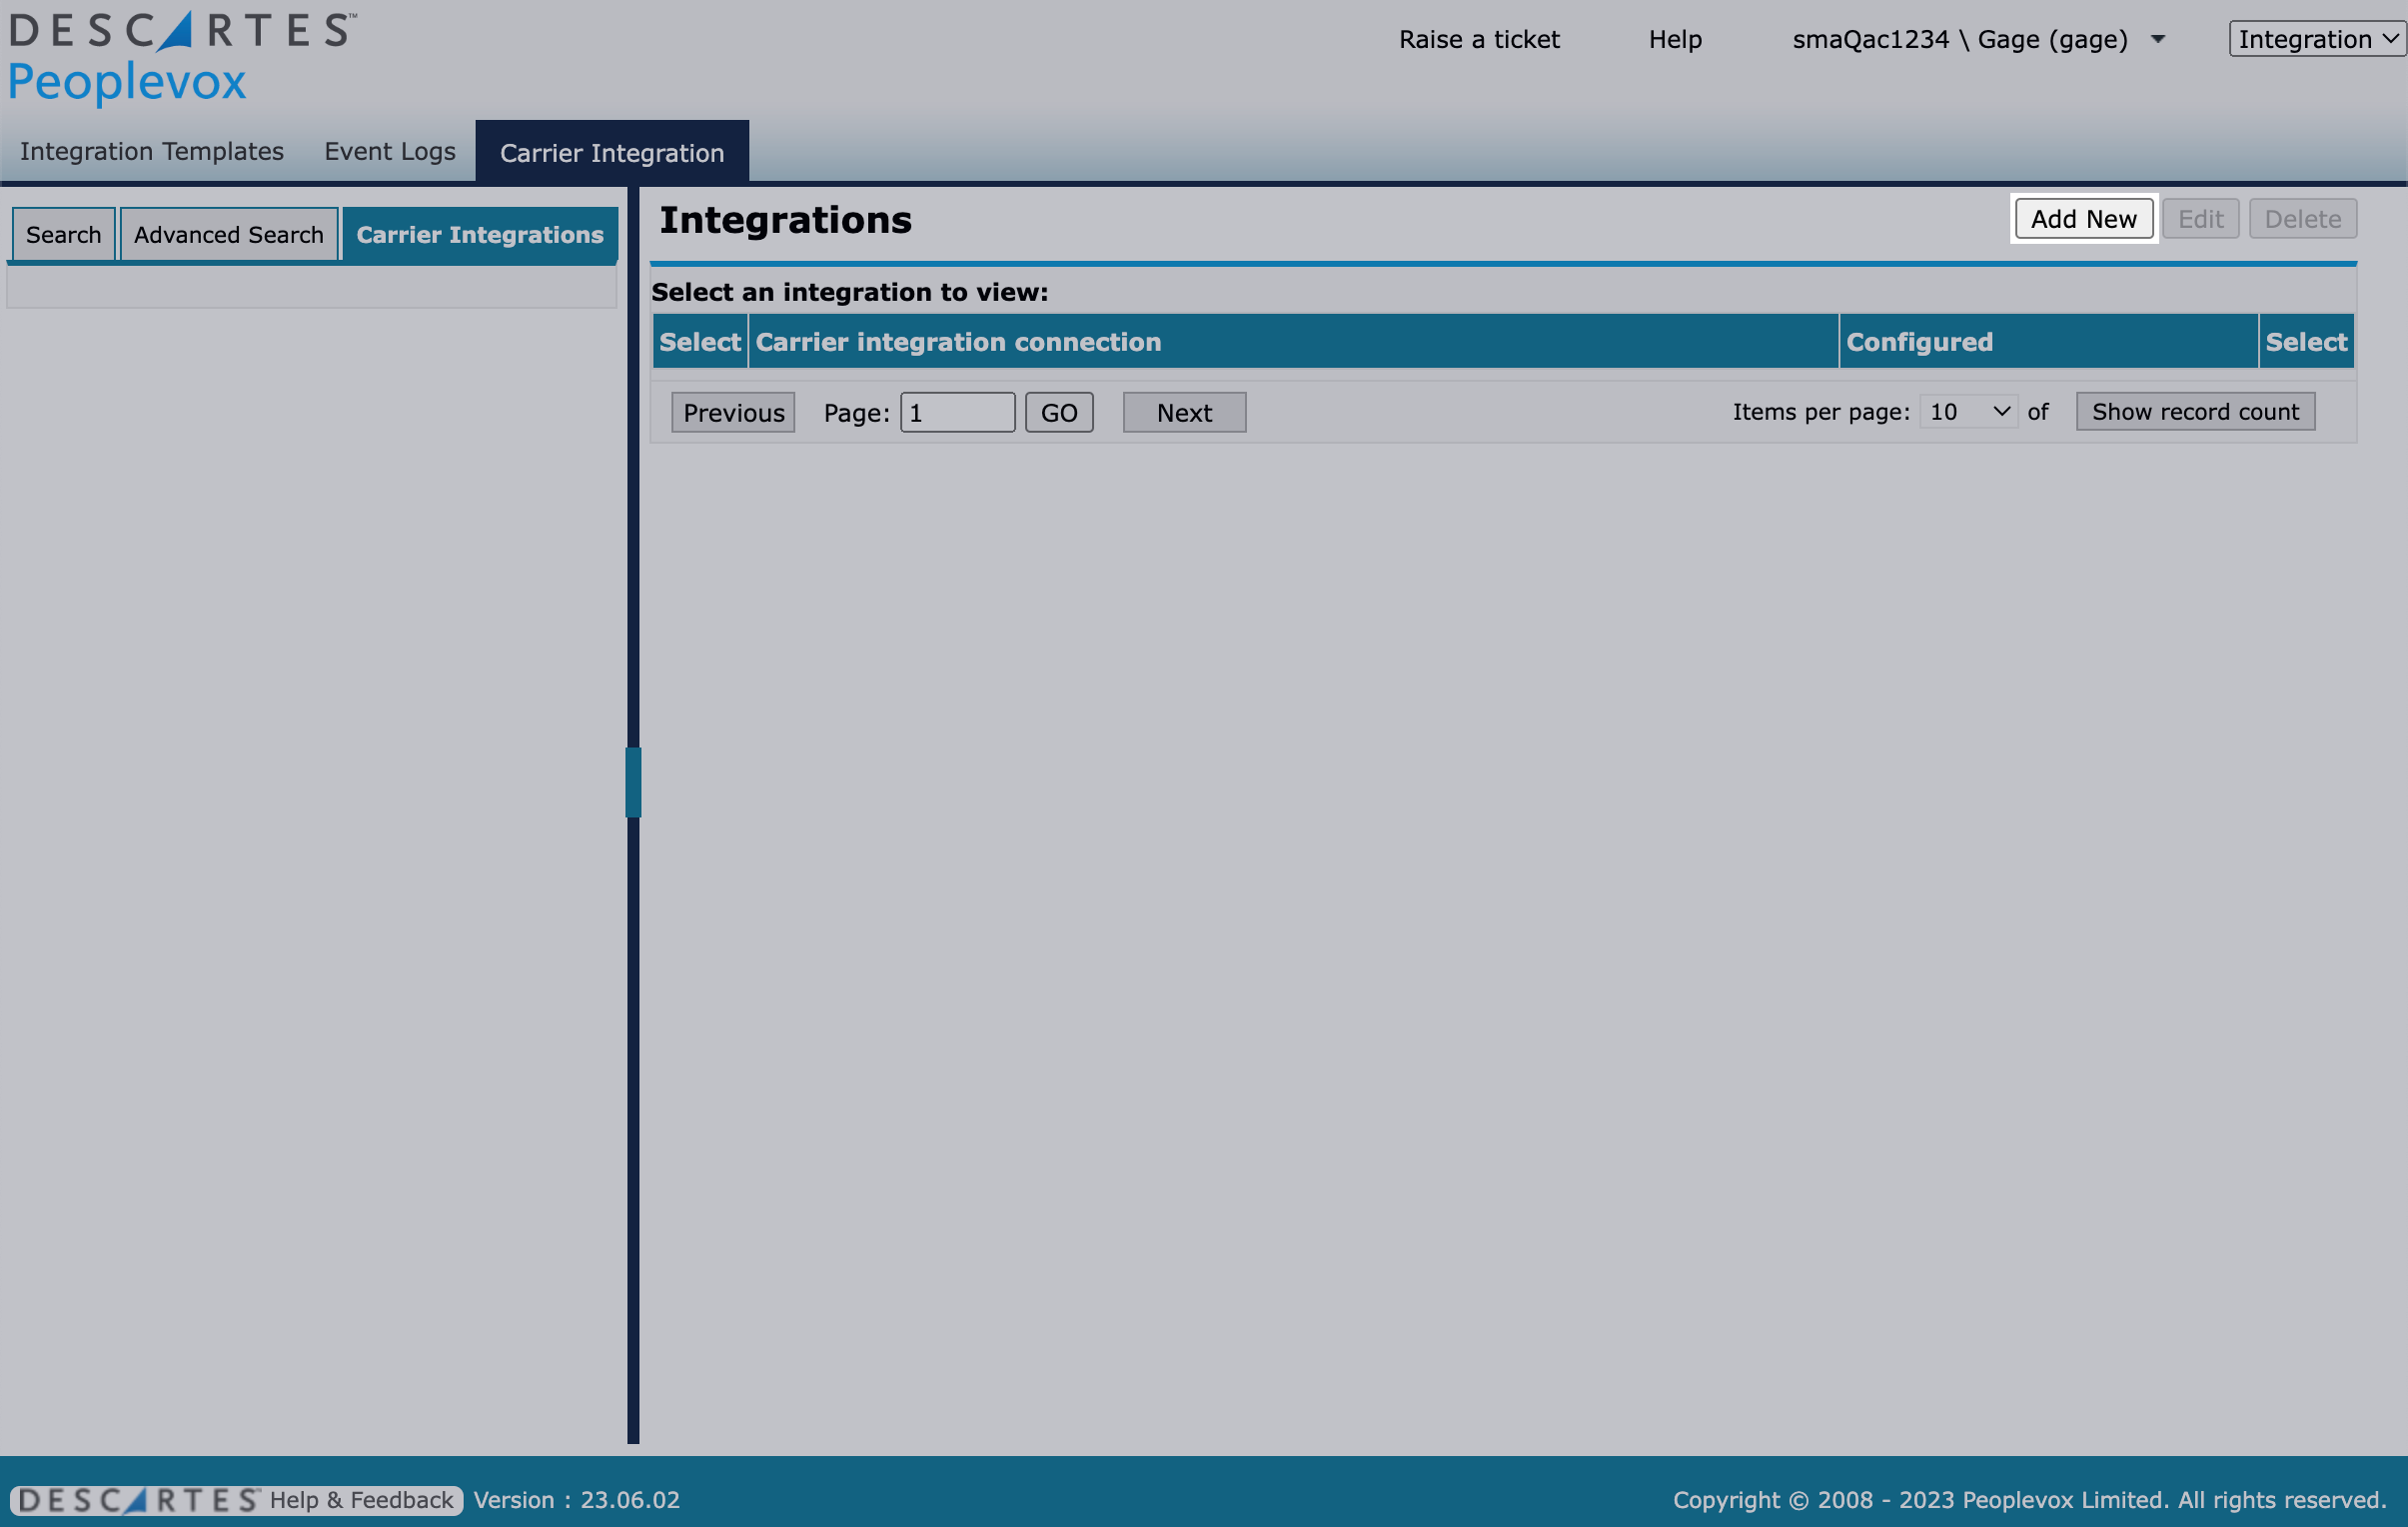
2. On the right hand side, click the Add New button - this will open a popup where you can configure and save the new integration.
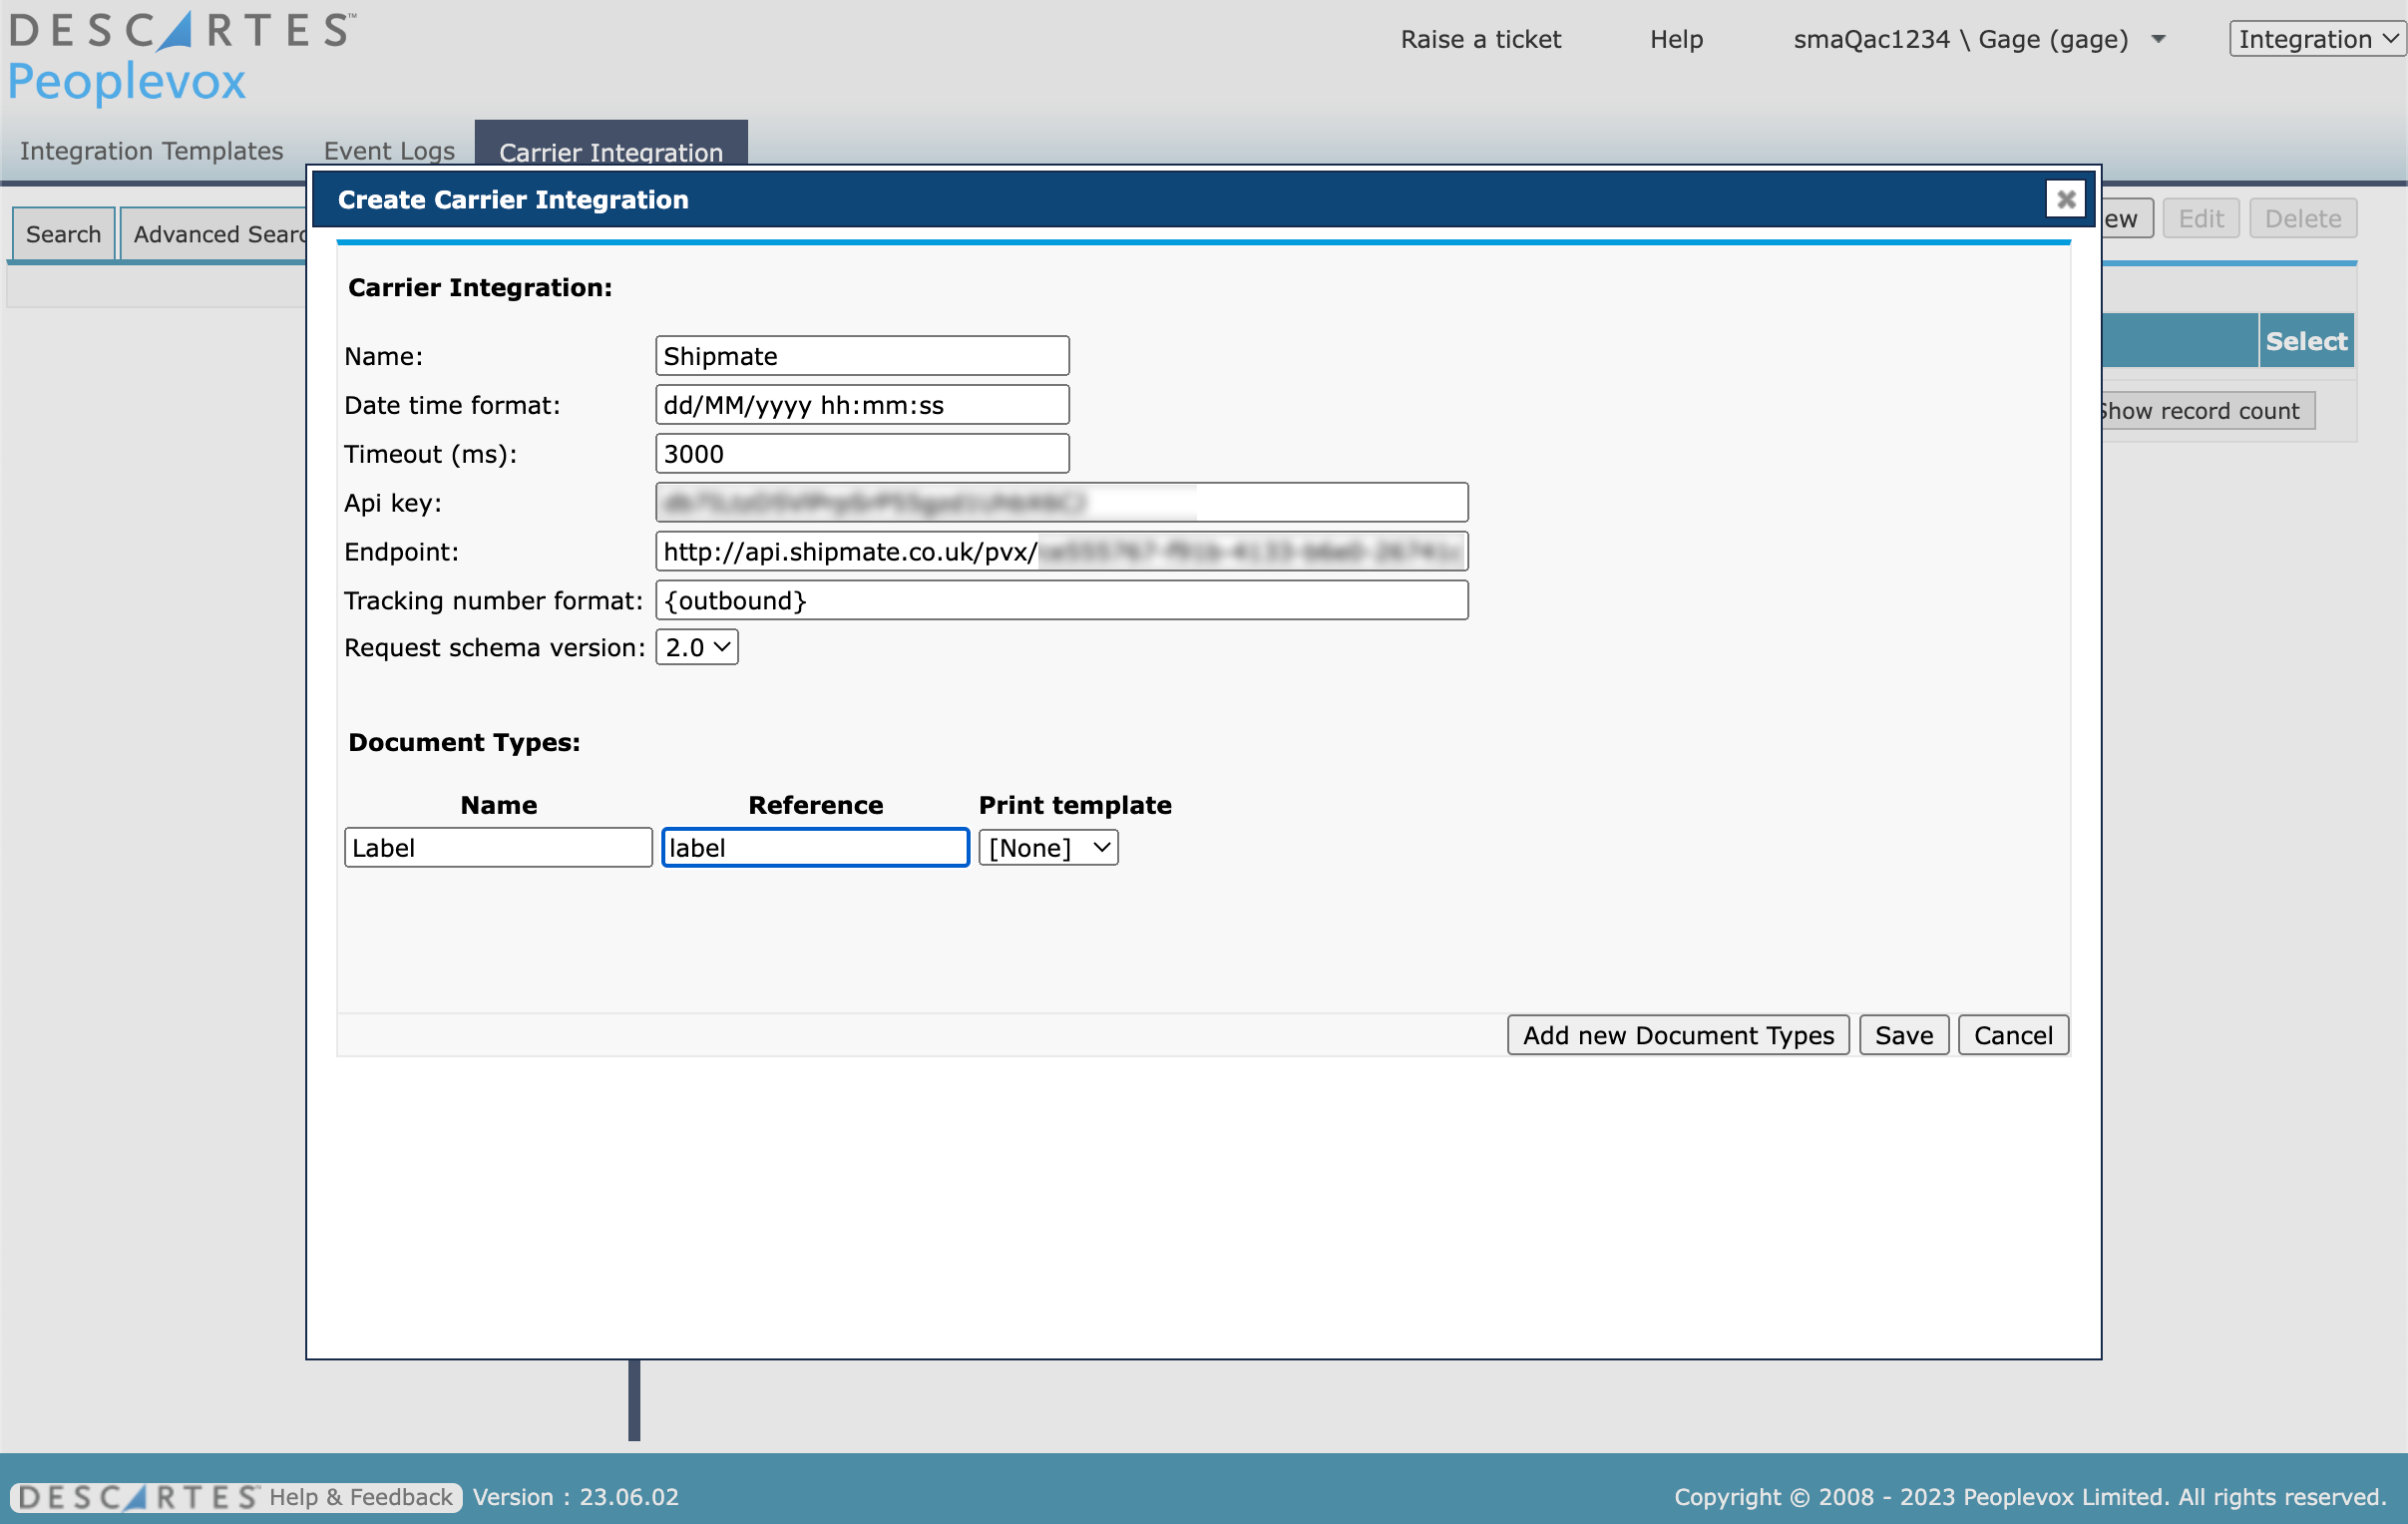
3. You should configure the settings as follows:
| Name | Shipmate |
|---|---|
| Date time format | Leave Unchanged |
| Timeout (ms) | 3000 |
| Api key | Enter the Auth Token you copied earlier in Shipmate |
| Endpoint | Enter the API URL value you copied earlier in Shipmate |
| Tracking number format | {outbound} |
| Request schema version | 2.0 |
In the Document types section:
| Name | Label |
|---|---|
| Reference | label |
| Print template | Select your fallback label template |
Once you are sure you have applied all the above settings correctly, click the Save button.
Config - Shipmate
Channel Settings
To amend your Peoplevox Channel settings inside Shipmate, you need to be logged in as an administrative user on your account, then simply navigate to Settings.
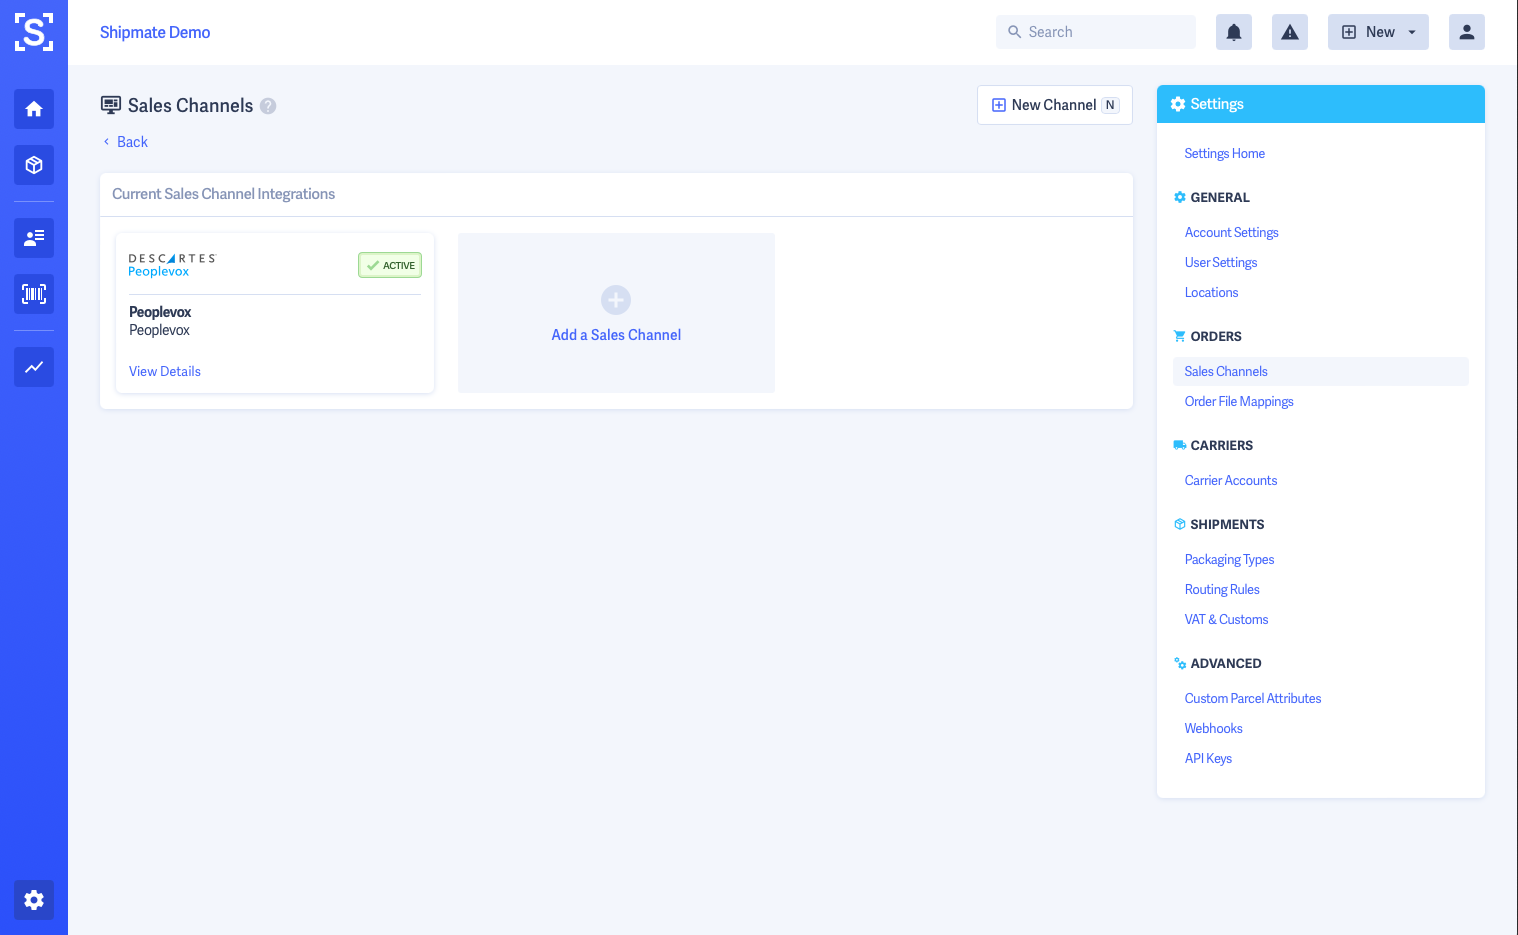
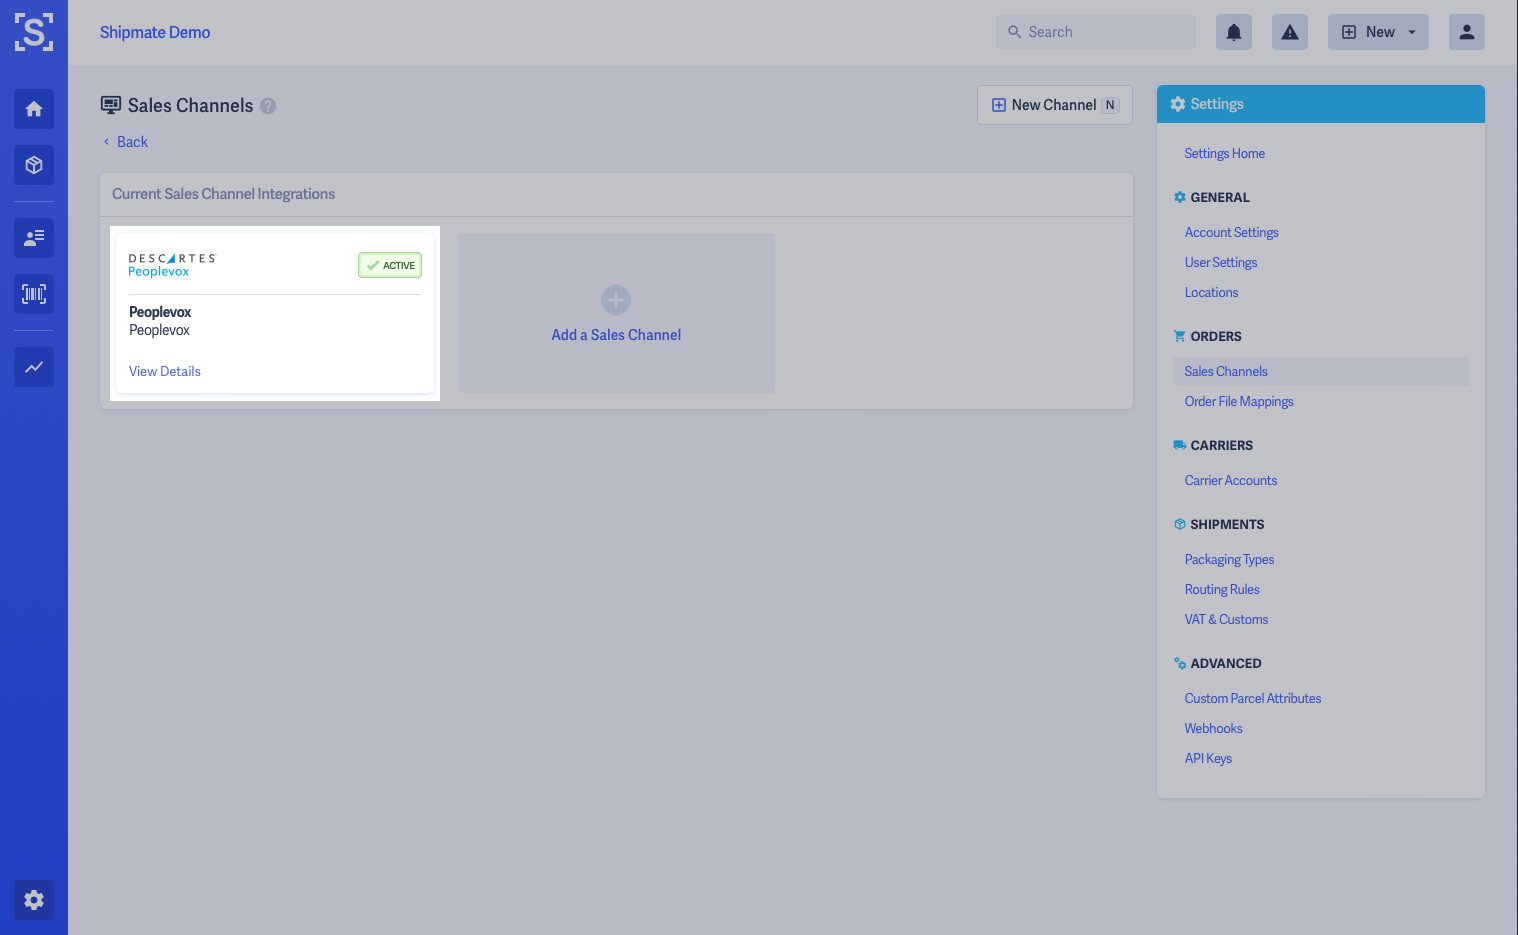
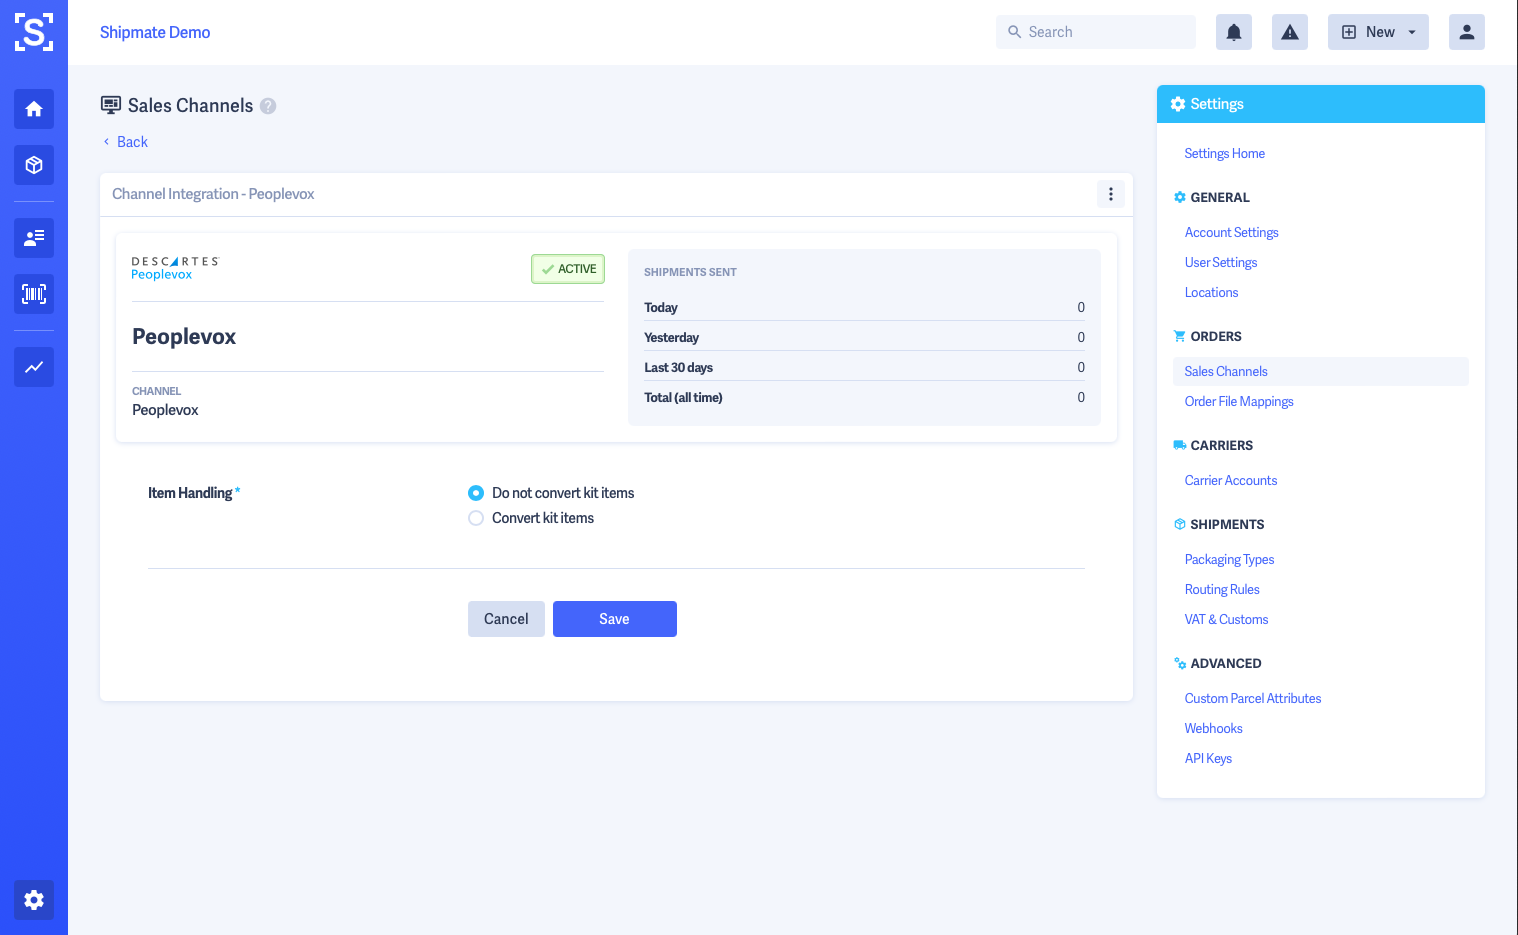
From the Settings menu select Sales Channels. This will open a page listing all of the available channels on your account. Simply click the Peoplevox channel. This will open the Peoplevox Channel Settings page.


Kitted Items
Shipmate offers two ways of handling kitted items when importing shipments from Peoplevox:
Convert kit items: Child SKUs will be pulled through on to the parcel data rather than the parent. This is useful for situations such as bundles.
Do not convert kit items: Uses the main SKU only (Default option)
If you wish to change this mode, select the option that meets your requirements then click the Save button.

In Use
Shipping an Order
Once all settings have been configured, you can now ship from Peoplevox with Shipmate.
To get started, in the Warehouse screen, go to the Despatch tab
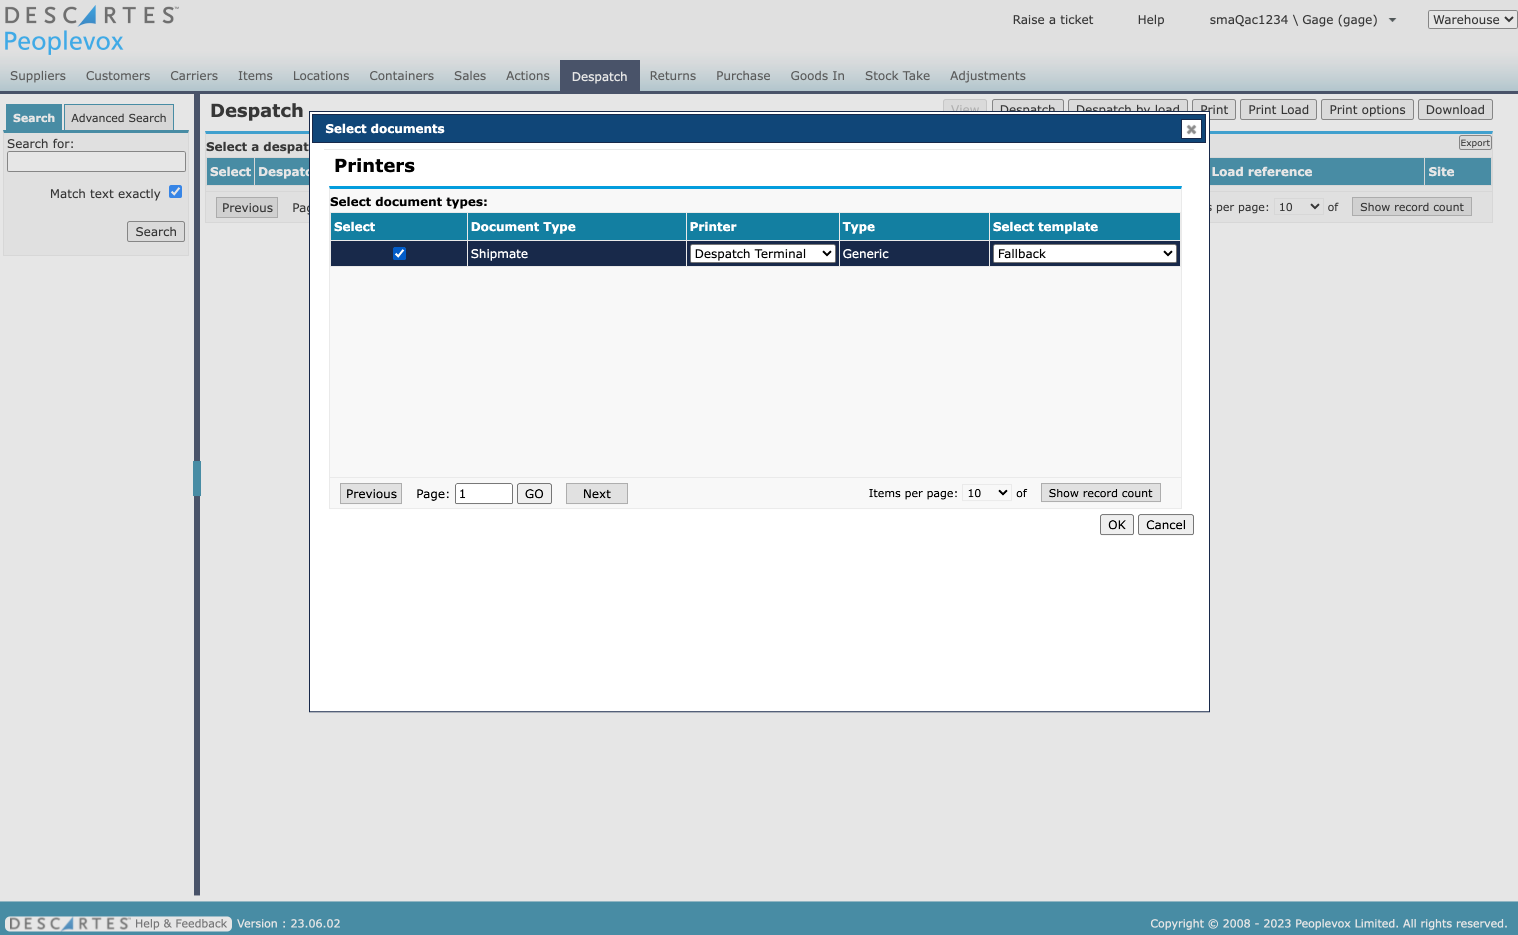
Click the Print options button near the top right of the screen.
Select the checkmark next to your new Shipmate carrier integration
In the printer column, ensure you select the correct printer for your despatch station/computer
Troubleshooting
Failed Shipments
If a shipment fails validation and cannot be submitted to Shipmate, your fallback label will be printed at the user despatch station.
To identify why the shipment cannot be passed to Shipmate, change to the Integration screen and select the Event logs tab.
You will see a Carrier payload response message with the reason why Shipmate rejected the shipment. The appropriate action should be taken on the shipment, and then you should attempt to reprint from within Peoplevox.
If you must add the shipment manually in the Shipmate Web Portal, setting the Sender Reference to the Despatch Number (e.g., DES123456), will mean you can relink this shipment in Peoplevox. Once the shipment has been successfully added in the Shipmate Web Portal, re-printing within Peoplevox will print the label and also pull through your tracking reference for onward forwarding to other systems.
Further Information
Version History
Version 1.0.0 - June 2023
Initial version facilitates integration between Shipmate and Peoplevox. Features include:
- Connect your Shipmate and Peoplevox accounts
- Stores carrier tracking numbers inside Peoplevox
- Print your shipping labels directly within Peoplevox